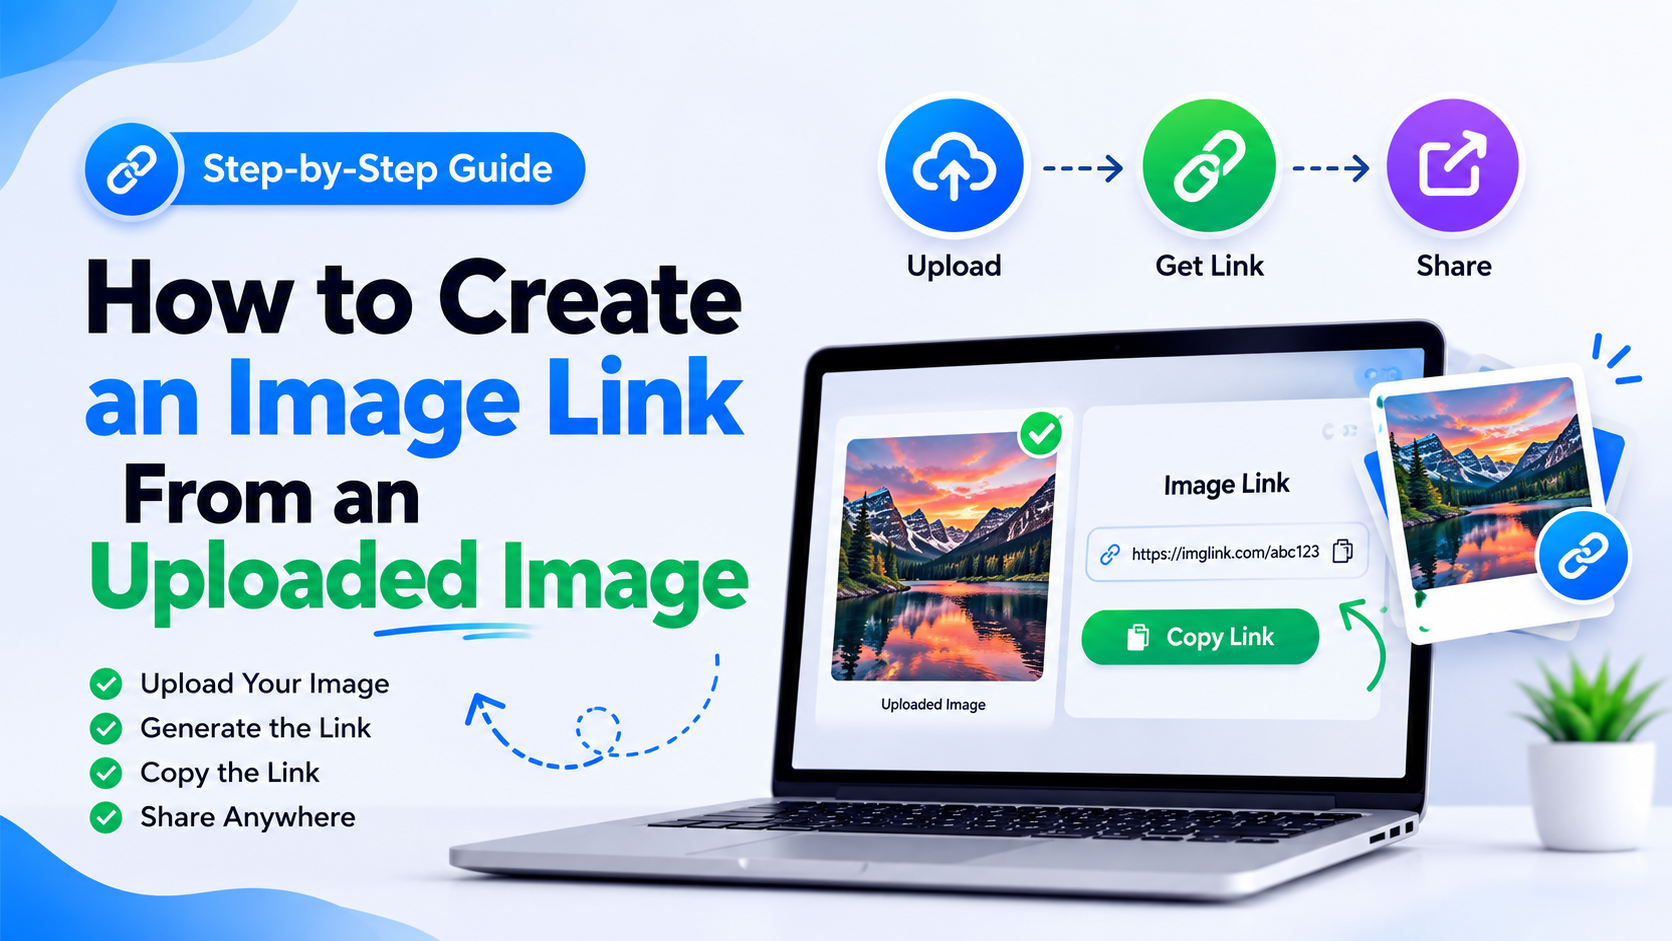
When you upload a photo, screenshot, scanned document, or product image, you may need a URL that opens it online. This is useful for websites, blogs, online forms, portfolios, social profiles, customer support, and digital marketing.
The simplest answer to "how to create image link" is: upload the image to a service that stores files online, copy its share or file URL, and test that link in a private browser window. However, not every share link is a direct image URL. Some links open a preview page, require sign-in, or stop working when permissions change.
This guide explains the difference between image links, how to create them from desktop or mobile, and which method is best for common situations in India.
Key Takeaways
- A direct image URL points to the image file itself, while a share URL may open a preview or download page.
- WordPress Media Library creates a unique file URL for every uploaded image.
- Google Drive can create an "Anyone with the link" sharing URL, but it may not behave like a direct image URL in every website or app.
- To make an image clickable on a webpage, place the
<img>element inside an<a>element. - Always test permissions, file visibility, image quality, and link longevity before publishing.
- Use descriptive filenames and useful alt text for accessibility and image SEO.
What Is an Image Link?
An image link is a web address that lets someone view, download, or embed an image stored online. It commonly looks like this:
`text
https://example.com/uploads/college-project.jpg
`
A direct image link normally opens the image file in the browser. The URL often ends with an extension such as .jpg, .jpeg, .png, .gif, .webp, .svg, or .avif, although some modern services use URLs without visible file extensions.
There are three related types of links:
| Link type | What it opens | Best use |
|---|---|---|
| Direct image URL | The image file itself | HTML, email templates, image embeds |
| Share or preview URL | A page showing the image and controls | Sending files to people |
| Download URL | A file download or export action | Delivering a copy of the original |
For example, a Google Drive link may allow people to view a file but open a Drive webpage rather than the image alone. WordPress, by contrast, displays a specific File URL for uploaded media. WordPress.com's current documentation describes this as the direct link to the file.
Before You Create the Link
Prepare the image and decide what the recipient should be able to do.
1. Choose an appropriate format
Common choices include:
- JPEG/JPG: Photos and camera images
- PNG: Screenshots, logos, and images requiring transparency
- WebP: Efficient web delivery when your platform supports it
- GIF: Simple animations
- SVG: Logos and icons, where the hosting platform permits it
Google Search currently supports images referenced in HTML img elements in BMP, GIF, JPEG, PNG, WebP, SVG, and AVIF formats. Google's image SEO documentation also recommends that the filename extension match the actual file type.
2. Rename the file descriptively
Instead of:
`text
IMG_20260822_1045.jpg
`
use:
`text
delhi-college-fest-poster.jpg
`
A descriptive filename helps you identify files later and gives search engines limited context. Avoid spaces and excessive special characters because they can make URLs harder to copy and troubleshoot.
3. Check privacy and ownership
Do not upload identity documents, bank records, medical reports, or private photographs to a publicly accessible service unless you understand the risks. A public link may be forwarded to anyone.
Also confirm that you own the image or have permission to share it. A link does not give you copyright ownership.
Method 1: Create an Image Link in WordPress
WordPress is often the most reliable option for bloggers, businesses, schools, freelancers, and Indian website owners who already have a website.
Step-by-step process
- Sign in to your WordPress dashboard.
- Open Media → Library.
- Select Add New and upload the image from your computer or phone.
- Click the uploaded image to open its attachment details.
- Find the File URL field.
- Select Copy URL to clipboard.
- Paste the URL into a new browser tab to test it.
WordPress documentation identifies the File URL as a direct link to the media file. The URL usually contains your domain, an uploads directory, the upload date, and the filename, for example:
`text
https://yourwebsite.in/wp-content/uploads/2026/08/delhi-college-fest-poster.jpg
`
The exact path depends on your site configuration. Do not manually guess or edit it.
WordPress warnings
- Deleting the media file can break every page using its URL.
- Re-uploading a file with the same name may create a suffix such as
-1. - Changing a page's permalink is different from changing the direct file URL.
- If you need a stable page address while replacing the underlying image, WordPress.com recommends placing the image on a page and sharing that page URL. See its file URL guidance.
You can also insert an external image by choosing Insert from URL in the WordPress Image block. WordPress warns that the image may stop displaying if the original file is moved, deleted, or no longer shared. WordPress Image block documentation.
Method 2: Create an Image Share Link With Google Drive
Google Drive is convenient when you want to send an uploaded image to a client, teacher, colleague, or WhatsApp contact without managing a website.
Desktop instructions
- Open Google Drive and upload the image.
- Right-click the file and select Share.
- Under General access, open the access menu.
- Select Anyone with the link.
- Set the role to Viewer.
- Click Copy link, then select Done.
These steps follow Google's current instructions for public file sharing. Google Drive Help notes that the owner's name and email address may be visible when a file is shared by link.
Mobile instructions
In the Google Drive app:
- Find the uploaded image.
- Tap the three-dot menu.
- Tap Manage access or Share.
- Change general access to Anyone with the link.
- Confirm Viewer access.
- Tap Copy link.
The wording can vary slightly between Android and iPhone versions.
Important limitation
A Google Drive share URL is primarily a permission-controlled sharing link. It may open a Drive preview page rather than return the image file directly. Therefore:
- Use it for human sharing and review.
- Do not assume it will work in an HTML
<img src="">field. - Test it in a private or logged-out browser window.
- Make sure the recipient does not need your Google account permission.
For a website, a WordPress Media Library, your own hosting account, or a dedicated image/CDN service that provides a direct file URL is generally more suitable.
Method 3: Use Your Website Hosting or Cloud Storage
If you have web hosting, you can upload the image through your hosting control panel, file manager, FTP, or a content management system. The final URL must point to a publicly accessible location on your domain.
A typical process is:
- Upload the image to a public media or uploads folder.
- Confirm that the file has the correct extension.
- Copy the full HTTPS address.
- Open it in an incognito window.
- Use the address wherever an image URL is requested.
Use HTTPS whenever possible. It prevents common browser security warnings when your webpage is also served over HTTPS.
Cloud storage services can work well for private sharing, but their links may include access tokens, previews, redirects, or expiration rules. Read the service's sharing settings before using a cloud-storage URL in a permanent website template.
How to Turn an Image Into a Clickable Link
Sometimes you already have an image URL and want visitors to click the image and reach another page. HTML uses an anchor element for the destination and an image element for the visual content.
`html
<a href="https://example.com/course">
<img
src="https://example.com/uploads/course-banner.jpg"
alt="View the online course"
width="1200"
height="630">
</a>
`
The href is the page opened after a click. The src is the image displayed on the page. The two URLs can be identical, but they do not have to be.
MDN recommends placing the <img> inside the <a> element to create an image link and writing alt text that describes the link's destination. MDN image element guide.
For a simple Markdown image link:
`markdown


`
Not every Markdown editor permits external images, and some platforms sanitize HTML. If the image does not appear, check the platform's Markdown and hotlinking rules.
How to Test an Image Link
Before sending or publishing the URL, run this checklist:
- Open it while logged out. Use a private browser window or a different device.
- Check the permission. Confirm that viewers do not need an account.
- Look at the result. Does it open the image, a preview page, or a download?
- Test on mobile data. This helps identify network, caching, or login problems.
- Check the filename and format. Make sure the extension matches the file.
- Copy the complete URL. Include
https://and avoid accidental spaces. - Recheck after publishing. Test the final page, email, form, or social post.
If a link returns 403 Forbidden, the host is blocking access or requires permission. A 404 Not Found response usually means the file was moved, deleted, or the path is incorrect. A link that works for you but not others commonly indicates private permissions or an account-specific session.
Image SEO and Accessibility Tips
Creating a link is only the technical first step. If the image appears on a public webpage:
- Use a short, descriptive filename.
- Add accurate alt text for meaningful images.
- Use
alt=""for purely decorative images. - Place the image near relevant text and captions.
- Specify width and height when you control the HTML to reduce layout shifts.
- Provide a responsive version with
srcsetwhen appropriate. - Compress large photographs while retaining readable detail.
Google states that alt text helps it understand an image and improves accessibility for people using screen readers or low-bandwidth connections. It also cautions against keyword stuffing. Google Image SEO best practices.
Do not paste a long keyword list into alt text. For a photograph of a campus event, write:
`html
alt="Students attending a technology workshop in Bengaluru"
`
not:
`html
alt="best college workshop Bengaluru students technology event India"
`
Frequently Asked Questions
Can I create an image link without a website?
Yes. Upload the file to a sharing service such as Google Drive and copy its sharing URL. However, that link may open a preview page rather than the image file itself. For direct embedding, use a host that explicitly provides a public image URL.
Why does my image link ask people to sign in?
The file is probably private or restricted to selected accounts. Change the sharing setting to a public viewer option, if appropriate, and test the URL while logged out. Do not make confidential files public.
Is a Google Drive link a direct image URL?
Not necessarily. Google Drive's standard copied link is designed for sharing and previewing files. Some applications accept it, while others require a URL that returns the image file directly. Test the link in the exact application where you intend to use it.
How do I get an image URL on WordPress?
Go to Media → Library, open the image, locate File URL, and choose Copy URL to clipboard. WordPress creates a unique URL when the file is uploaded.
Will the link work forever?
Only if the file remains hosted and publicly accessible. Deleting, moving, renaming, replacing, or changing permissions can break an image link. Keep a record of important URLs and avoid deleting media that active pages depend on.
Conclusion
To create an image link from an uploaded image, host the file online, copy its public URL, and verify that it works for someone who is not signed in. WordPress is usually the clearest choice for a direct, website-ready file URL, while Google Drive is convenient for permission-based sharing.
For webpages, keep the image URL (src) separate from the destination link (href), add useful alt text, and test the final result on both desktop and mobile. These steps help your image load reliably and make it easier for people in India and elsewhere to access, share, and reuse your uploaded content appropriately.